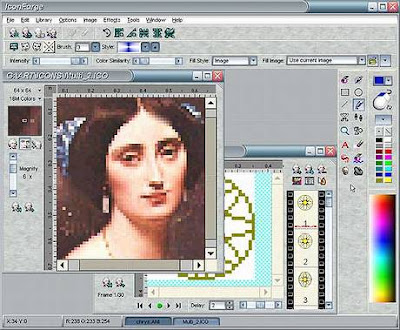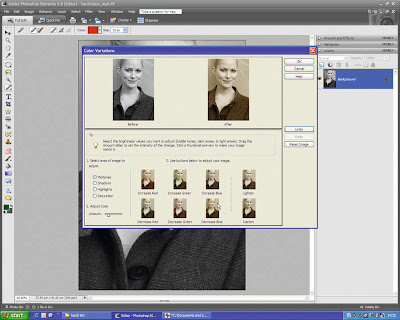
Today, Puan Foziah gives us permission to continue with our MODULE 2-PHOTO EDITING. This is because, at my house, I am using wi-max. Sometimes, when it is rainy day, I couldn’t connect to internet. Since internet connection is speed in Computer laboratory, I manage to complete about a few tutorial tasks.
In Module 2, these are tutorials that we have to do:
MODULE 2-PHOTO EDITING
2.1 Adobe Photoshop
2.1.1 Add Text
2.1.2 Adjust Colour
2.1.3 Adjust Exposure/Brigthness
2.1.4 Adjust saturation
2.1.5 Background Editing
2.1.6 Blending 2 images together
2.1.7 Correcting Colour Test
2.1.8 Crop around shape
2.1.9 Crop Picture
2.1.10 Custom Shape Design
2.1.11 Filter Image
2.1.12 Insert Frame
2.1.13 Make a better quality picture
2.1.14 Rotate picture
2.1.15 Saving EXIF data
2.1.16 Use touch up tool to remove blemishes

2.2 Adobe Photoshop CS3
2.2.1 Adjust Brightness
2.2.2 Adjust colour
2.2.3 Adjust saturation
2.2.4 Change Background
2.2.5 Change Gradient
2.2.6 Change Picture Size
2.2.7 Crop Picture
2.2.8 Filter Picture
2.2.9 Add text
2.2.10 Red Eye Reduction
2.2.11 Using Art History Brush tool
2.2.12 Using Clone Stamp Tool
2.2.13 Using Touch up Tool to Remove Blemishes
2.2.14 Crop Image around Shape
2.2.15 Crop Picture
2.2.16 Combine two images
2.2.17 Create a crystal ball
2.2.18 Insert Frame
2.2.19 Change a photo to portrait
2.2.20 Billboard on the building
2.2.21 Glass effect on text 1
2.2.22 Glass effect on text 2
2.2.23 Text on a cup
2.2.24 Water drop on the leaf
2.2.25 Waving flag

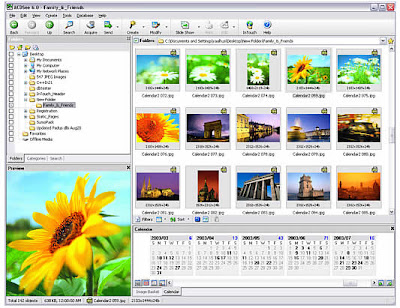
2.3 ACDsee
2.3.1 Correct colour cast
2.3.2 Crop picture
2.3.3 Noise reduction
2.3.4 Resize image

2.4 iPhoto
2.4.1 Adjust brightness
2.5 Microsoft Paint
2.5.1 Extending background

2.6 Photobucket
2.6.1 Insert Frame
2.7 Photoscape
2.7.1 Add Text
2.7.2 Basic Photo Editing
2.7.3 Insert Frame
2.7.4 Insert Frame (Barbie)
2.7.5 Noise Reduction
2.7.6 Resize Image
2.8 Triscape FXfoto
2.8.1 Add text on image
2.8.2 Adjust colour
2.8.3 Adjust exposure
2.8.4 Combination of basic taks
2.8.5 Crop around the shape
2.8.6 Filtering
2.8.7 Crop, improve and add text
2.8.8 Get a better quality picture
2.8.9 Improve an imagine
2.8.10 Insert frame and text
2.8.11 Resize
2.8.12 Resize image
2.8.13 Tutorial
2.8.14 Straighten a crooked photo
2.8.15 Straighten a crooked photo 2
2.8.16 remove red eye
2.8.17 use touch up tool to remove blemishes
2.8.18 use touch up tool to remove scratches
Today, we are also asked by Puan Foziah to carry out the tutorial task for Module 3.

After finishing the module, students should carry out three projects.
Task 1
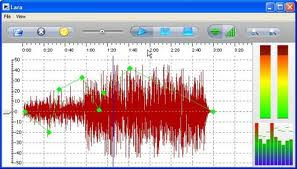
a. Choose a song, and then edit it by isolating the chorus of the song to make it in a ringtone. The song could either be a Malay, Mandarin, Hindi or an English song.

b. Save it on CD and hand it in together with the module.
Task 2
1. The next task is to cut and paste two songs together and make it sound nice.

2. The evaluation criteria will depend on the quality of sound and the tempo of the song.
Task 3
i.The third task is to edit a song and to change the quality of the song to make it sound better. The editing must be done for the song ‘dua insan’ sung by siti and M.Nasir. The intro needs to cut out the clapping sound and the end of the song, cut out the clapping sound as well as the introduction of the singers.

SELF-REFLECTION
I learnt many new skills in this module. These are some examples and description about tools that I have used in this module.
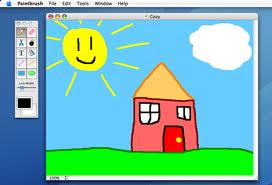
Microsoft Paint overview

Paint is a drawing tool you can use to create simple or elaborate drawings. These drawings can be either black-and-white or color, and can be saved as bitmap files. You can print your drawing, use it for your desktop background, or paste it into another document. You can even use Paint to view and edit scanned photos.
You can also use Paint to work with pictures, such as .jpg, .gif, or .bmp files. You can paste a Paint picture into another document you've created, or use it as your desktop background.
Common tasks: Paint
Draw a straight line
Draw a freeform line
Draw a curved line
Send an image using e-mail
Draw a rectangle or square
Draw an ellipse or circle
Draw a polygon
Show or hide the toolbox
Undo changes
Acquire an image from a scanner or a digital camera
COMMENTS FROM PUAN FOZIAH
I also get some comments from Puan Foziah regarding my task in MODULE 3. In Task 1, the ringtone entitled "What you waiting for" by Mizz Nina and Colby O Denis, Puan Foziah commented that I need to edit in the introduction part.

In Task 2, Puan Foziah also commented that I need to improve on my second choice of songs. Finally, in Task 3, Puan Foziah also comments that I need to edit in the introduction part and ending part.

I would like to say thank you to Puan Foziah as she give me a chance and great opportunity for me to edit and re-do my task.
These are some snapshots, during the session with Puan Foziah who are so helpful in giving us comments on how we can improve our Task 1, Task 2 and Task 3, Module 3.


In conclusion, I have learnt new skills that enhance my skills in technology. I hope from what I have learnt from Module 3 and guides from Puan Foziah, it will help me in creating my own teaching aids for the school.


